Painting and wearing these press-on nails is something I got into because of a few good nail art blogs. Knowing I wanted to share the process I did it a few times beforehand to save you holes in the walls. So I hope you enjoy and try this with your own favorite inspirations.
What you need -- Nails, nail clippers, emery board, acetone, nail art brush, polish.
Start with a piece of paper folded in half and sketch the idea for what you want on the nails. Play around with the colors then transfer what you liked best onto little nail-sized drawings underneath.

Choose your paint colors!
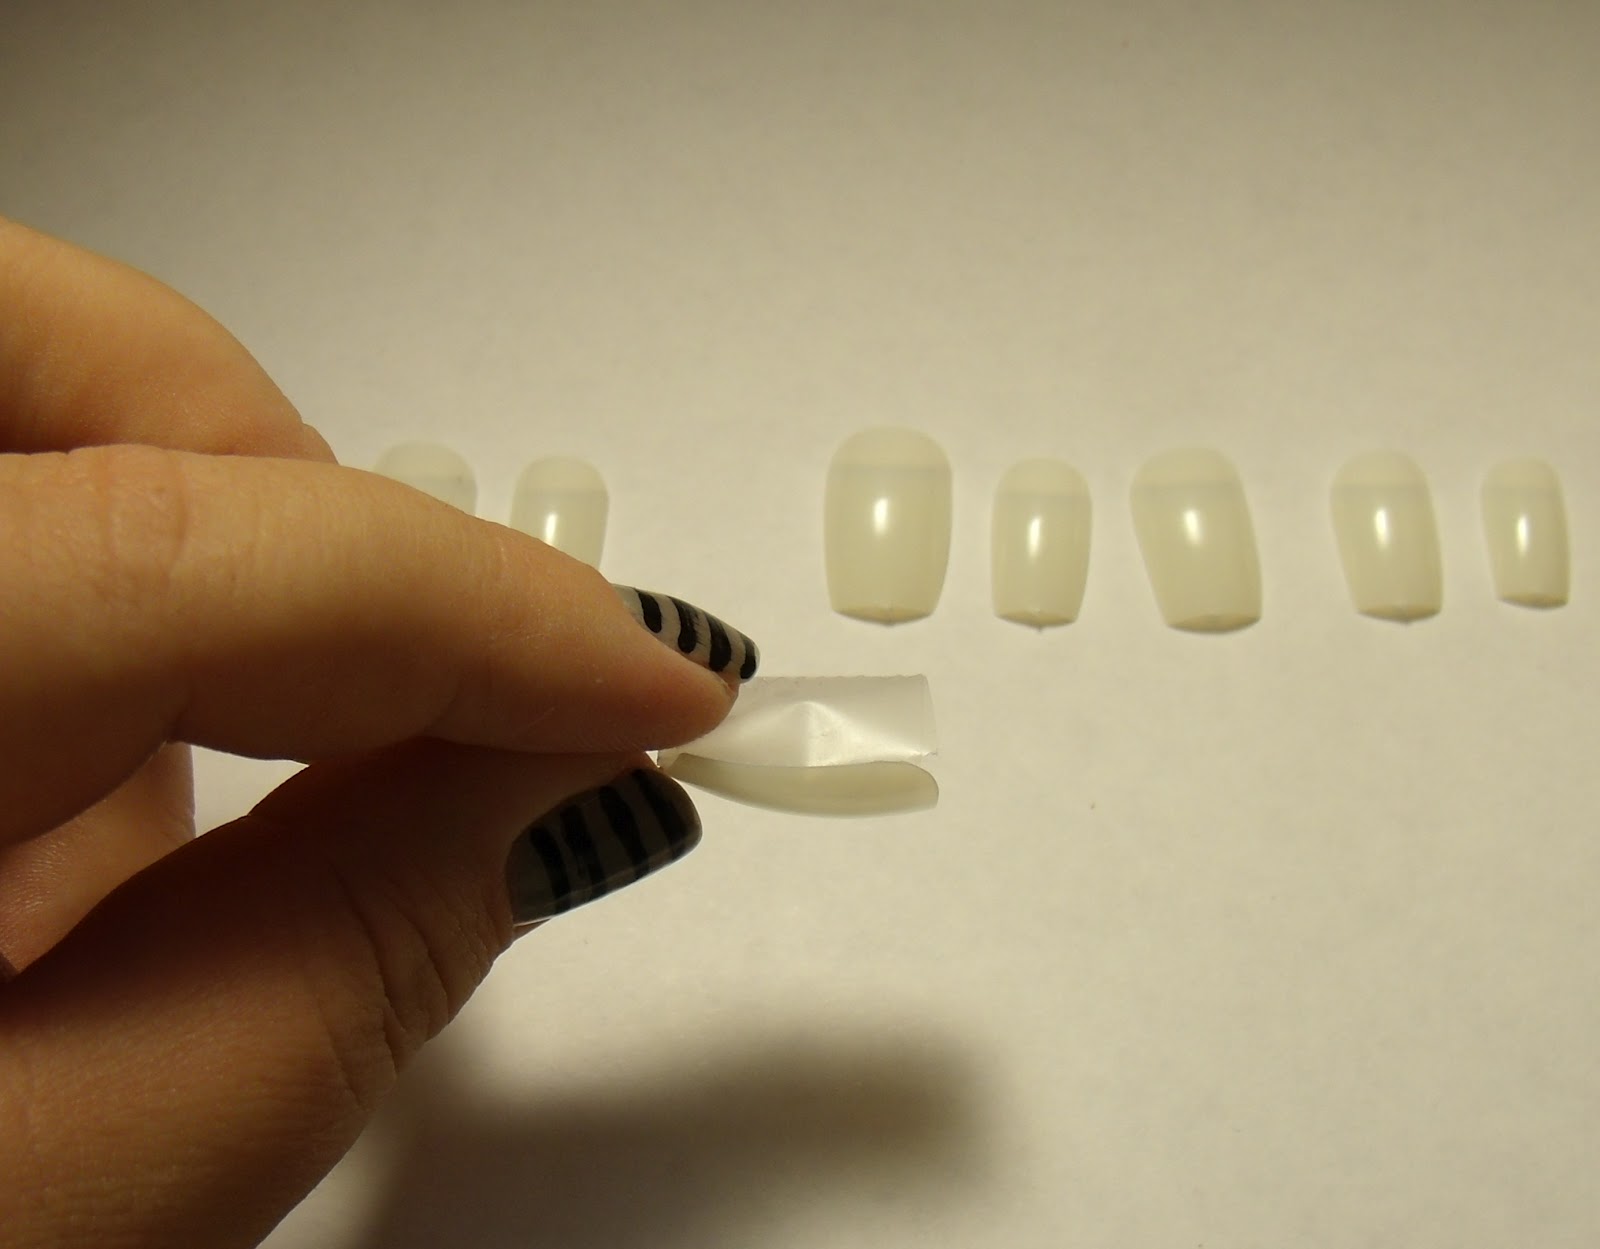
Size and take out the nails you will need. Roll up tape like so..
And fit it into the back of the nail and press down onto the other half of your piece of paper. (Give yourself more room between than I did here.)
Once you've got them in place apply a base coat to the nails.
The method of painting that works best for me is to start with the nail polish brush, move on to medium lines with my nail art tool -- then down to detail work with the same tool. Going off the guideline, paint the largest parts of the nail you want to cover with the regular brush.
This nail art brush is the simplest kind with an angled brush at one end and a dotting end at the other. Fill the cap of your bottle with acetone and use that for cleaning while painting. It's interesting how the tip of this brush can be so small yet still writes like a Sharpie when you first use it on a nail, so try to control the pressure and angle like you would a proper paint brush.
Slowly and carefully dip your brush in blobs of paint dripped onto your paper to make the medium lines and outlines of your design. It'll look clunky but don't worry. Just make sure you drag your brush a little before touching it to the nail so you can get a continuous line.
Using an even lighter touch and with your eye 2mm from the nail itself.. go ahead and start your detail work.
Finish the details.
I took this picture to show that the nails are imperfect so close up, so don't knock yourself if it ain't. Also, they are all raised and bumpy. That's soon to change.
LET THEM DRY. Then apply a top coat. I can't tell you how pissed at myself I was the few times I've said "Oh, it's dry enough!" and then with one swipe the nail looked like it was held in toxic waste and melted all over itself.
Use a nail clipper to trim and file them to the length you want and clean up the edges with the soft side of an emery board. They cut really easily and file even better than real nails so take a minute to make them perfect. In the first image the row on top is original form and underneath is cut and shaped.
Hope you liked :)


 Choose your paint colors!


Comments
Post a Comment